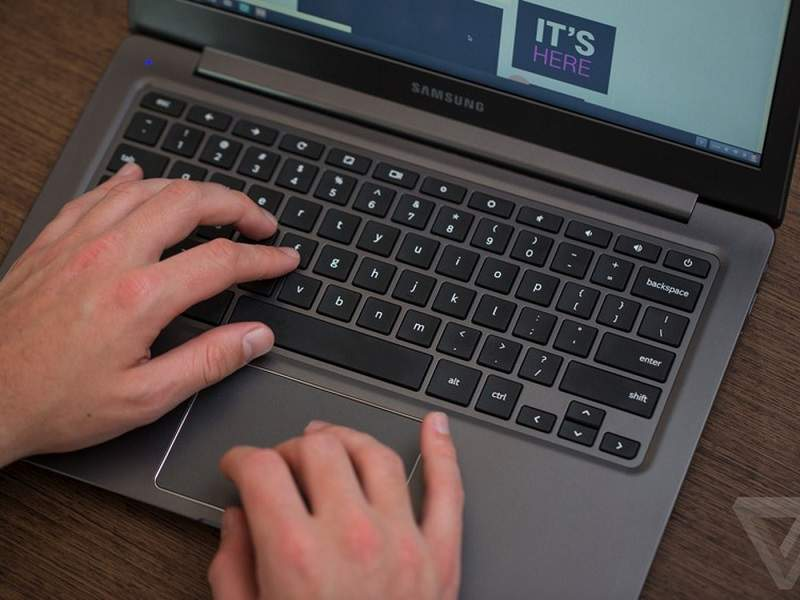
Taking a screenshot on a laptop is a useful and easy way to capture an image of whatever is currently being displayed on the screen. Screenshots can be useful for a variety of purposes, such as capturing an error message to send to tech support, saving an image of a webpage or social media post, or simply sharing a funny or interesting moment with others. Here are the steps to take a screenshot on a laptop:
1. Locate the PrtScn (Print Screen) key on your keyboard. On most laptops, this key is located in the upper-right corner of the keyboard.
2. Press the PrtScn key. This will capture an image of the entire screen and save it to the clipboard.
3. Open an image editing program such as Microsoft Paint or Adobe Photoshop.
4. Press Ctrl + V or right-click and select Paste to paste the screenshot into the image editing program.
5. Save the screenshot as a file by selecting File > Save or pressing Ctrl + S.
Some laptops may have additional screenshot options, such as capturing a specific window or portion of the screen. On Windows laptops, the Snipping Tool program can be used to capture customized screenshots. On Mac laptops, pressing Command + Shift + 4 will bring up a tool that allows you to select a specific portion of the screen to capture. Regardless of the method used, taking a screenshot on a laptop is a quick and easy way to capture and share images of your screen.


